


In this tutorial we will cover masking with Paintbrush, masking using the Colour Range selection tool, how to Move, Copy and Invert masks to other Adjustment Layers, how to adjust the Mask's Edge, and finally, using the Gradient Tool to mask.
Let's first start with some background. Layer masks are applied to specific layers and affect what part(s) of a layer (or Adjustment Layer) apply to the image, and to what degree. You can black-out entire parts of a layer, or reduce its effect by greying-out parts of the layer.
We discussed Adjustment Layers in another tutorial, but you are not limited to this kind of layer.
Let's say you apply a Curves layer or Levels Adjustment Layer, but once it is applied, you realize there is part of the image you do not want that layer to affect. What to do? Go to your layers window, click on the mask (white box) next to the layer you want to mask. Now, take your paintbrush, set the size and opacity (Keyboard Shortcuts) you need, and paint with the paintbrush over the part of the image you want to change.


 Your new post is loading...


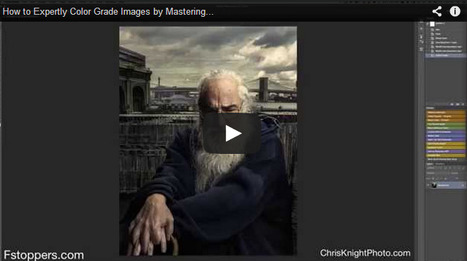


This may be a lengthy tutorial but it will give a very understandable view for Masking with a Paintbrush. It is stated what should be noted when it comes to layer masks using only shades of grey.